As part of trying to be more sustainable, I decided to try these new dish sponges.
They are dish sponges made from bamboo fibres, so are an eco-friendly alternative to the plastic ones.
I carried on using them and eventually started to get used to them. As long as I didn’t leave the food to dry onto the dishes, it worked perfectly well to get rid of all the residual food. If I wasn’t washing the pots straight away, then I would need to soak them in hot water before it would come off using the sponge.
The Washing Test:
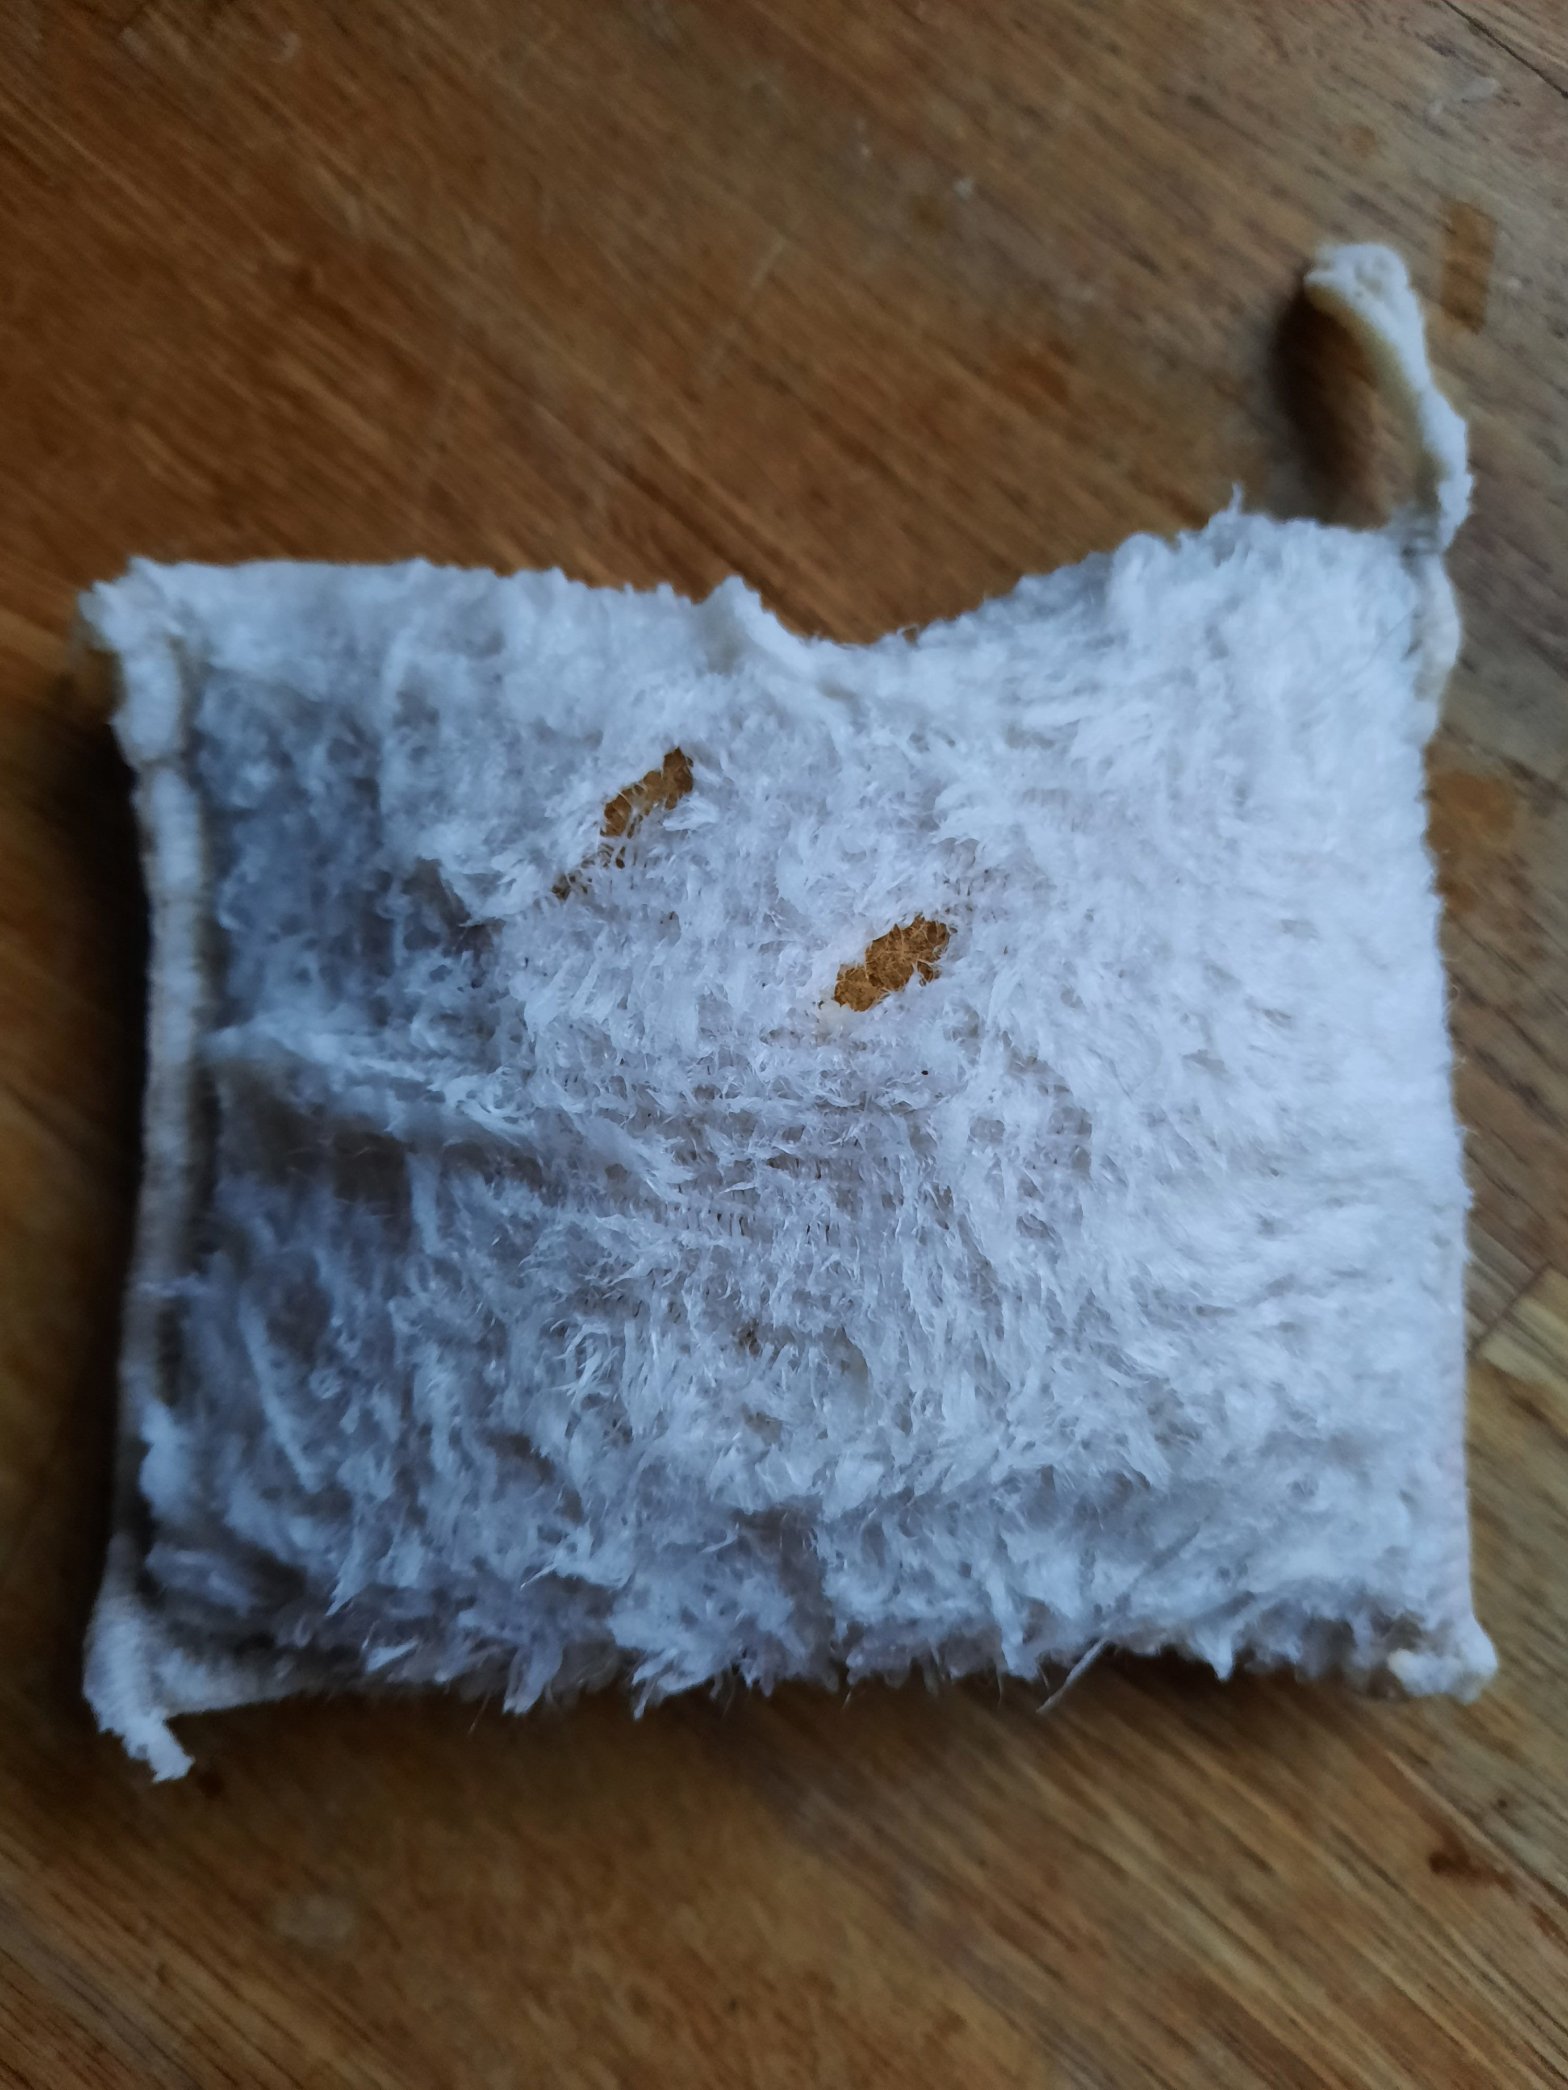
After about a month (not sure if that is a long time or not?), I decided to put the sponge in the washing machine to see how it would hold up. I was very dubious about this, and didn’t think they would survive the wash, however I was pleasantly surprised.
This is the picture I took of the sponge when it was taken out of the washing machine.
The verdict
I would definitely recommend these sponges. They lasted longer than the ‘traditional’ sponges, and lasted me about 6 months before I had to replace it. Once I was finished with it, I rinsed it out and put it on the compost heap too! So all in all, I was very happy with these and would purchase again.
I am trying to remain as sustainable as possible, and one way I’ve been doing this is to try and find clothes in charity shops instead of buying brand new. I thought now would be the perfect time to go as I know quite a lot of people have spent lockdown clearing out their unwanted things.
I really needed a new pair gym leggings and a new pair of work trousers because the lockdown weight was making my other ones feel a bit snug! It must have been my lucky day because the charity shop was having a 50% off clothes sale.
I got this top for £1 and these trousers for £2.50, what an absolute bargain! This outfit is perfect for work, and the blouse would work well with some skinny jeans and heels for an evening look.
River Island dress for £4.50
So u started off well, then I saw this amazing dress! It was priced as £9 which for me, is more than I would pay for an item I don’t necessarily need, but because it was half price I had to buy it!
Again, this dress would make a nice work outfit, but I could also wear it out for dinner and drinks with friends. Its my birthday soon too so I thought it would be great for that occasion.
Top for £1
The last item I got was this fantastic pink Cropped top for £1. This goes well with the trousers that I got and again, could be matched with some skinny jeans or a high waisted skirt (both of which I have) to make a perfect evening outfit.
Unfortunately I didn’t find any gym leggings that were in my size, but I did manage to get 4 pieces for £9 , all of which I can use for work or as evening outfits.
Hopefully I’ve shown what amazing bargains and good quality clothes are available at 2nd hand shops, and you give them a try yourself 😃
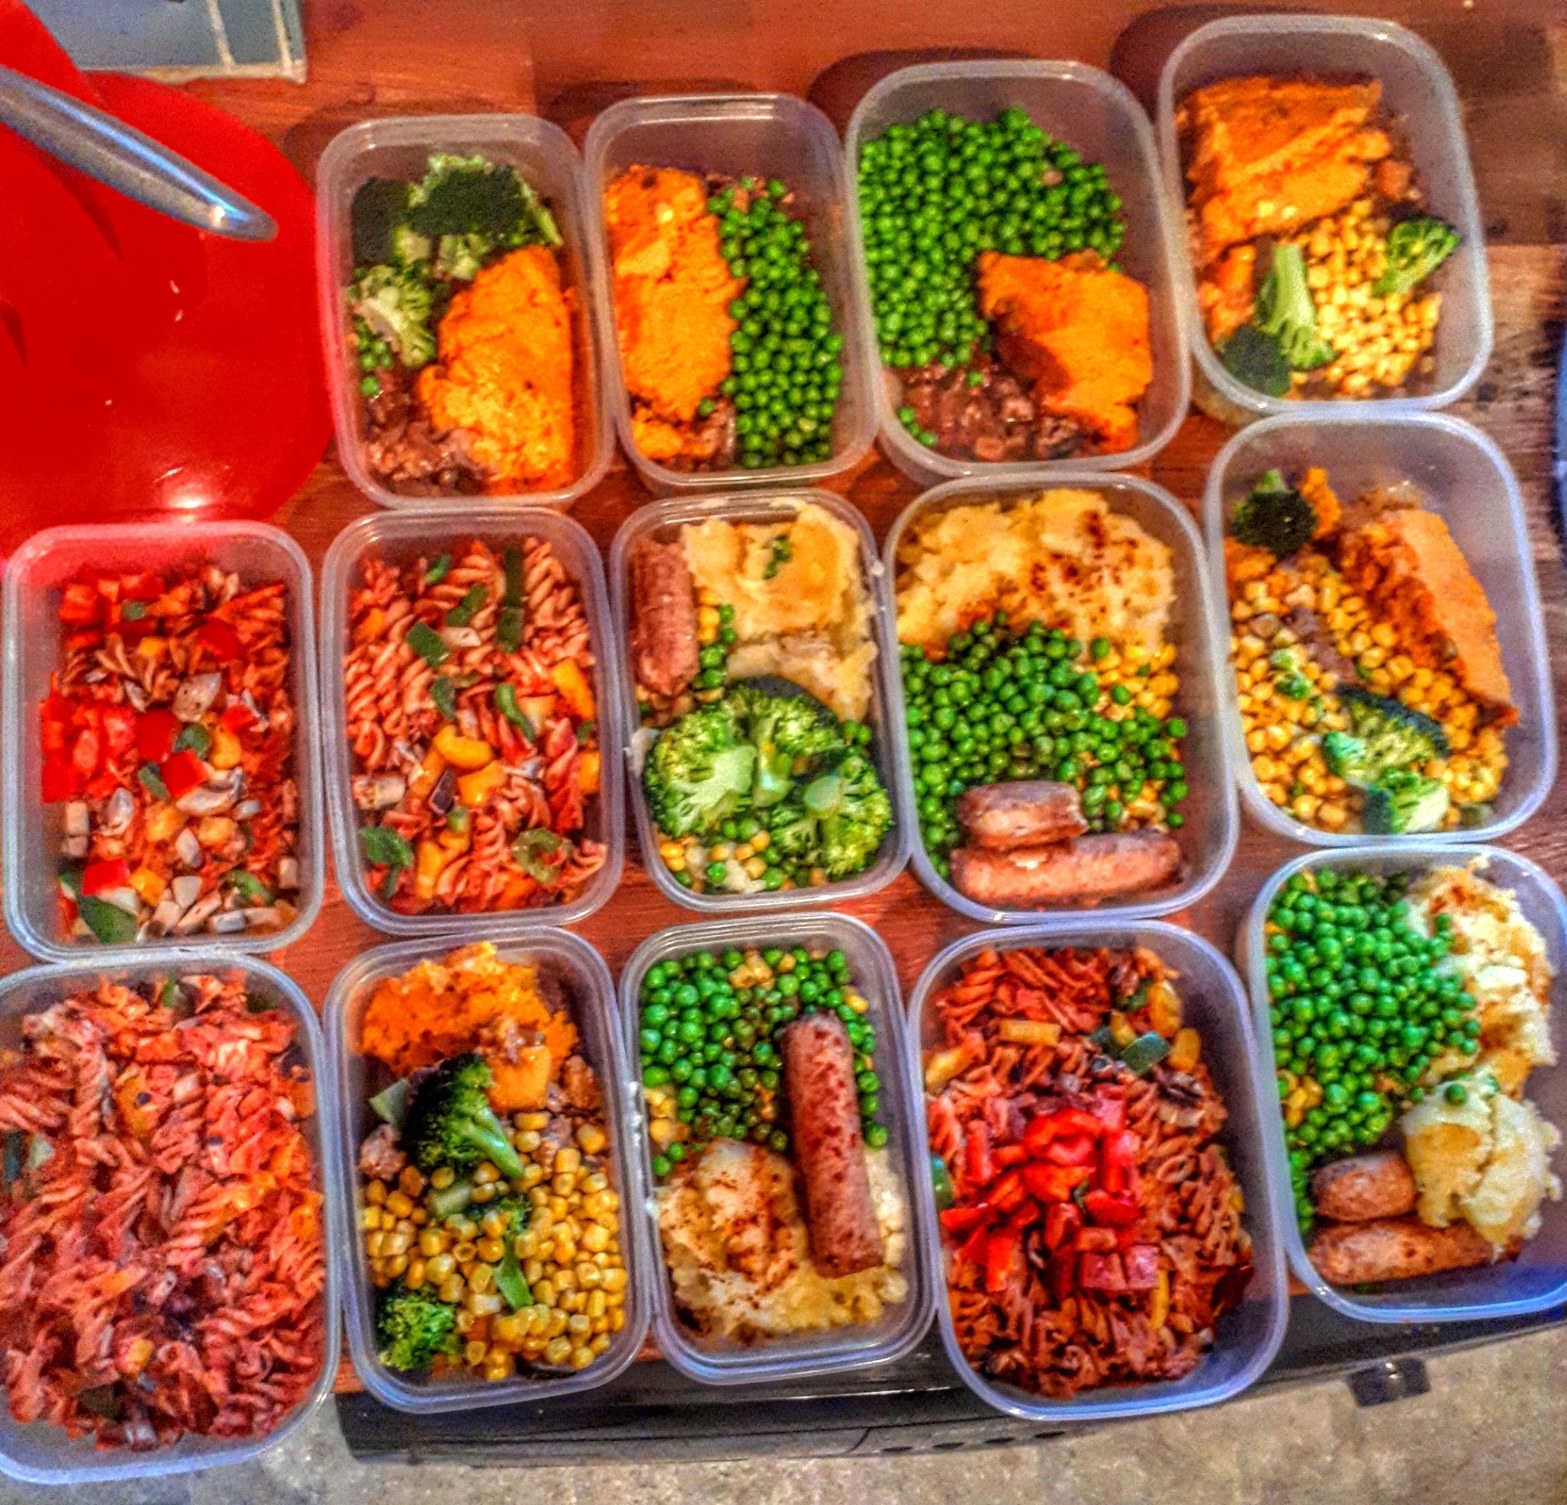
Hi Guys! If you’re like me and super busy during the week, it can be hard to find the time to cook healthy nourishing meals from scratch. What I do instead is meal prep at the weekend. So whether you’re a beginner at meal prepping or just looking for some tips then you have come to the right place! Here are my top 10 tips for meal prepping success.
1. Plan your meals
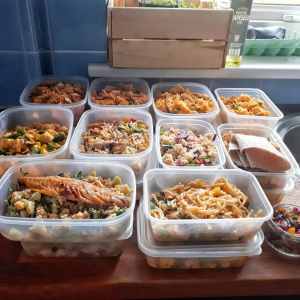
So every week before I go shopping, I sit down and decide what I’m going to eat for the following week for work and evening meals. Planning is so important to make sure you get all the ingredients that you need. I also tend to make four person portions of all my food, so I can mix and match through the week.
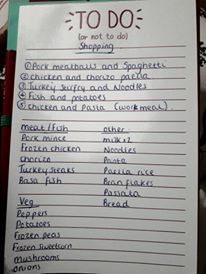
My shopping list for the week
2. Make time in your schedule
So my meal prep usually takes me about 2-3 hours depending on how much I’m cooking. So I make sure I blot this time out in my diary and commit to this. I like to plan my weekends now so that if I’m going out on Saturday, I’ll stay in on Sunday and visa versa just so I have time to prep but also some valuable me time 🙂
3. Start with a clean kitchen
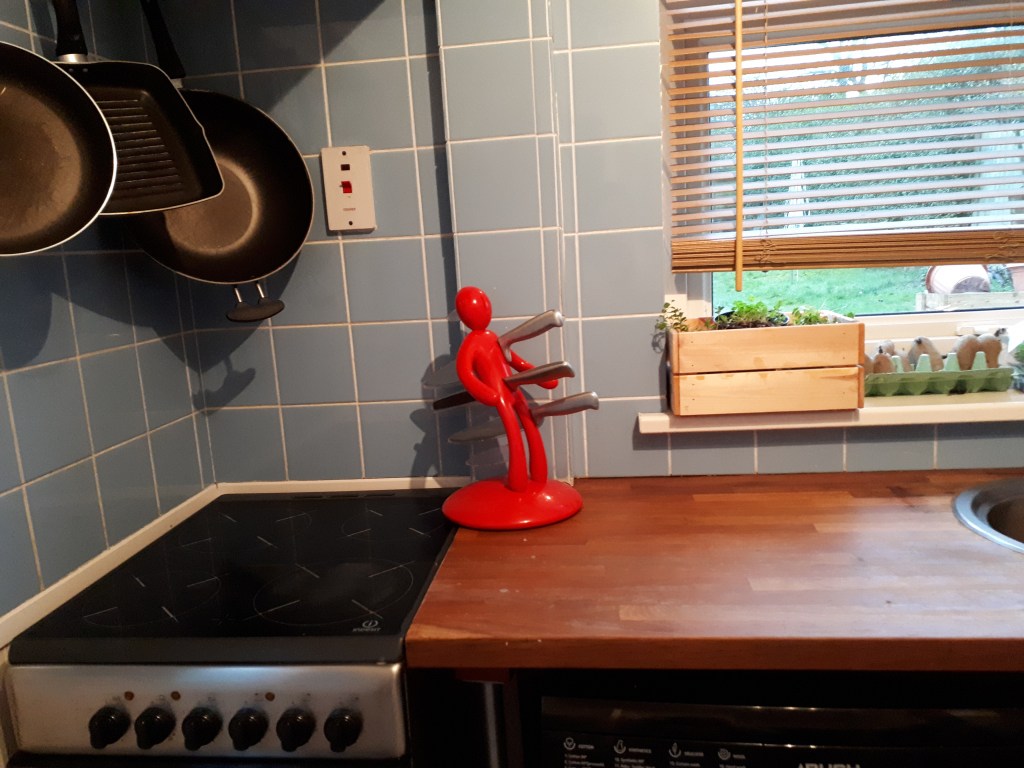
So anyone who has seen my kitchen knows how I do not have a lot of counter space for meal prep, so I always start my meal prep after I’ve cleaned and de-cluttered the kitchen as much as possible so it doesn’t slow me down once I’ve started prepping.
Kitchen/surfaces are clear, and Dead Derek (the knife block) is all ready.
4. Bring in the slow cooker/ other kitchen gadgets
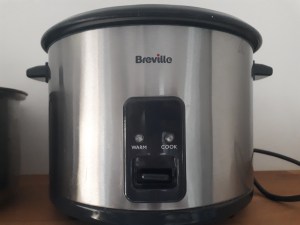
When I’m meal prepping I will always try to get something in the slow cooker, and it will tend to be some sort of bolognese or chilli that I can eat that evening. This just means that I have less hands on time for one of the dishes and helps speed stuff along. I eat A LOT of rice, so I bought a cheap rice cooker from Argos and I have never looked back! I got a great guide with it, so I can just set it up and go, and it will automatically switch to warm mode when the rice is done, so it’s one less thing to worry about on the hob.
My go-to kitchen gadgets for meal prepping. Rice cooker and crock-pot.
5. Have a bitchin’ playlist
One of the reasons I love meal prepping so much is that I get to listen to my meal prep playlist. At the moment, this consists of Steps, Blazin’ Squad and a lot of other noughties pop/RnB classics. This music makes me so upbeat and I feel I am actually working a lot quicker, it makes my time so much more enjoyable as well. It’s also an excuse to have a massive singsong in the kitchen (as if I needed one!).
6. Make the meal that will take the longest first
So for me, when I am making a simple chicken and rice for my work meals, I tend to use frozen chicken, which takes about 45-60min to cook. So I will always cook this meal first because it takes the most amount of time. It also means while this is cooking I can start set up the rice cooker and chopping my veg for the other meals I’m going to make, saving me some time further down the road.
7. Use a timer
As you will be cooking multiple things at a time, it might be best to use a timer so you can keep track of what needs to come out at what time. I tend to use a timer more when I’m putting stuff in the oven, after I accidentally turned my chicken into charcoal because I forgot it was in there… I’m sure we’ve all done this once or twice, am I right?
8. Wash up as you go along
Sometimes during my meal preps I find myself with a 5-10 minute gaps while I’m waiting for the pasta to cook or for the sauce to simmer etc….So I use these to wash the pots as I go along, and then when you finish meal prepping, there won’t be as may to do. Win!
9. Make sure you have enough containers/freezer space
This has caught me out so many times when doing my meal preps! So just double check that you have enough containers, and enough space in the fridge/freezer to store all your food. The last thing you want to do is go through all this effort and have nowhere to put all that wonderful food.
10. Practise makes perfect
Like anything, meal prepping will take you a few times to get a handle of the timings, and to generally see which way works best for you. For instance, you may find that chopping all your veg before hand is better for you before you start prepping anything, and that is absolutely fine, if that works for you then go with it! Once you get your head around it, it is well worth it if you really don’t want to spend your weekday evenings cooking.
So here are my top 10 tips, I hope you find them useful. As always, please feel free to leave any feedback.
Don’t forget to tag me in your instagram pictures @growwelleatwell
So I’ve just come to the end of another year of growing my own crops, and wanted to share some tips on how to get started. I’ve chosen these 8 based on my own experiences and the pitfalls that I have fallen into in the last couple of years, so I hope you find them useful.
1. Determine what space you have
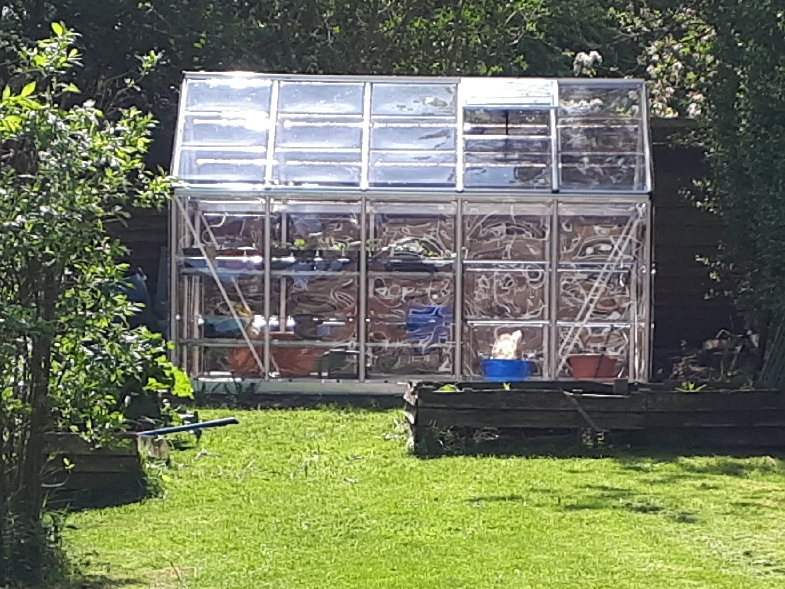
So what you can grow will depend on what space you have in the garden. But don’t worry, you can still grow your own veg in a small garden. I myself have a decent sized back garden, but I choose to grow some of my crops in containers because for me I find it much easier. Last year, I grew carrots, parsnips, potatoes, tomatoes and cucumbers all in containers and used my raised beds for my courgettes, sweetcorn and peas.
Container gardening: My Potatoes, Raspberries, Carrots, Parsnips, Tomatoes and Cucumbers.
2. Choose the best spot
So this is also quite important. Usually the sunniest spot is best as a good proportion of sunlight will ensure your crop thrives! Partially sunny areas are okay as well, my courgettes grow well at the bottom of the garden where the sun shine only gets through until about 2pm, but they grew like wildfire last year. Some crops prefer shaded area, so make sure you do your research to see which part of the garden is the best for your chosen crops.
3. Grow what you like!
This probably sounds pretty self explanatory, but I have fallen foul to this. When I started growing my crops two years ago, I literally tried to grow a bit of everything, including beetroot which I don’t actually like, and tomatoes, which I do like but hardly ever eat, so I ended up giving a lot of food away.
My raspberry plants
4. Don’t overwhelm yourself by trying to grow everything
My first year growing I was so excited to get started that I tried to grow everything, and this got too much to maintain and I got myself into a pickle because I couldn’t keep on top of all the gardening tasks as well as going to work and maintaining a social life, because I was still learning as I went along. I am now approaching year three of growing and I feel I know a lot more about the crops that I am growing, so I feel better able to grow more at the same time.
5. Be organised
This is super important. Again in my first year, while I was trying to grow everything, I got into a tizz because I wasn’t writing down which crops had to be pruned at which time in the year, and which crops needed which fertiliser or liquid feed, so my crop yield wasn’t as great as it could be. But last year, I got a gardening notepad so I could keep track of everything that needed to be done and when.
6. Research what you’re doing
Whether you’re just growing herbs, or plan to have a full vegetable patch, I would advise that you find a good source of information to give you the background knowledge that you’ll need. Two books that I relied on were “RHS: Grow your own crops in pots” and “Vegetable growing month by month”. These are really good books for beginners, cover a lot of the basics and are very easy to read, so I would definitely recommend them before getting started, especially for container gardening where it will give you tips on composts to use and pot sizes.
Two great books for beginners
7. Get good quality gardening tools
In my first year of gardening, I bought the cheapest options when it came to gardening gloves and pruning shears, and a few sessions in the garden, the gloves ripped and the pruning shears broke. So the next set I bought were more expensive and much better quality that I’m still using them two years later. So my advice would be to go for the tools that look and feel better quality, because you will save a lot of money in the long run as they won’t have to be replaced as frequently.
8. Don’t get disheartened if your crops fail
This is really important, sometimes your crops will fail, it may be due to something that you did, or it may be pests etc.. but don’t let it put you off. The best thing you can do is learn from it. I was so annoyed last year at my first attempt of growing broccoli, one day it was fine and the next it was ruined and covered with caterpillars. But when I try again this year, I’ll know to net my broccoli and check the leaves for caterpillars. Treat every setback as a learning curve.
My failed sweetcorn. Oh well, there’s always next year.
So those are my 8 tips for getting started. Like I said, these are just the 8 that I found when I first started, so I thought I would share. Thanks for reading, please feel free to leave me any feedback 🙂
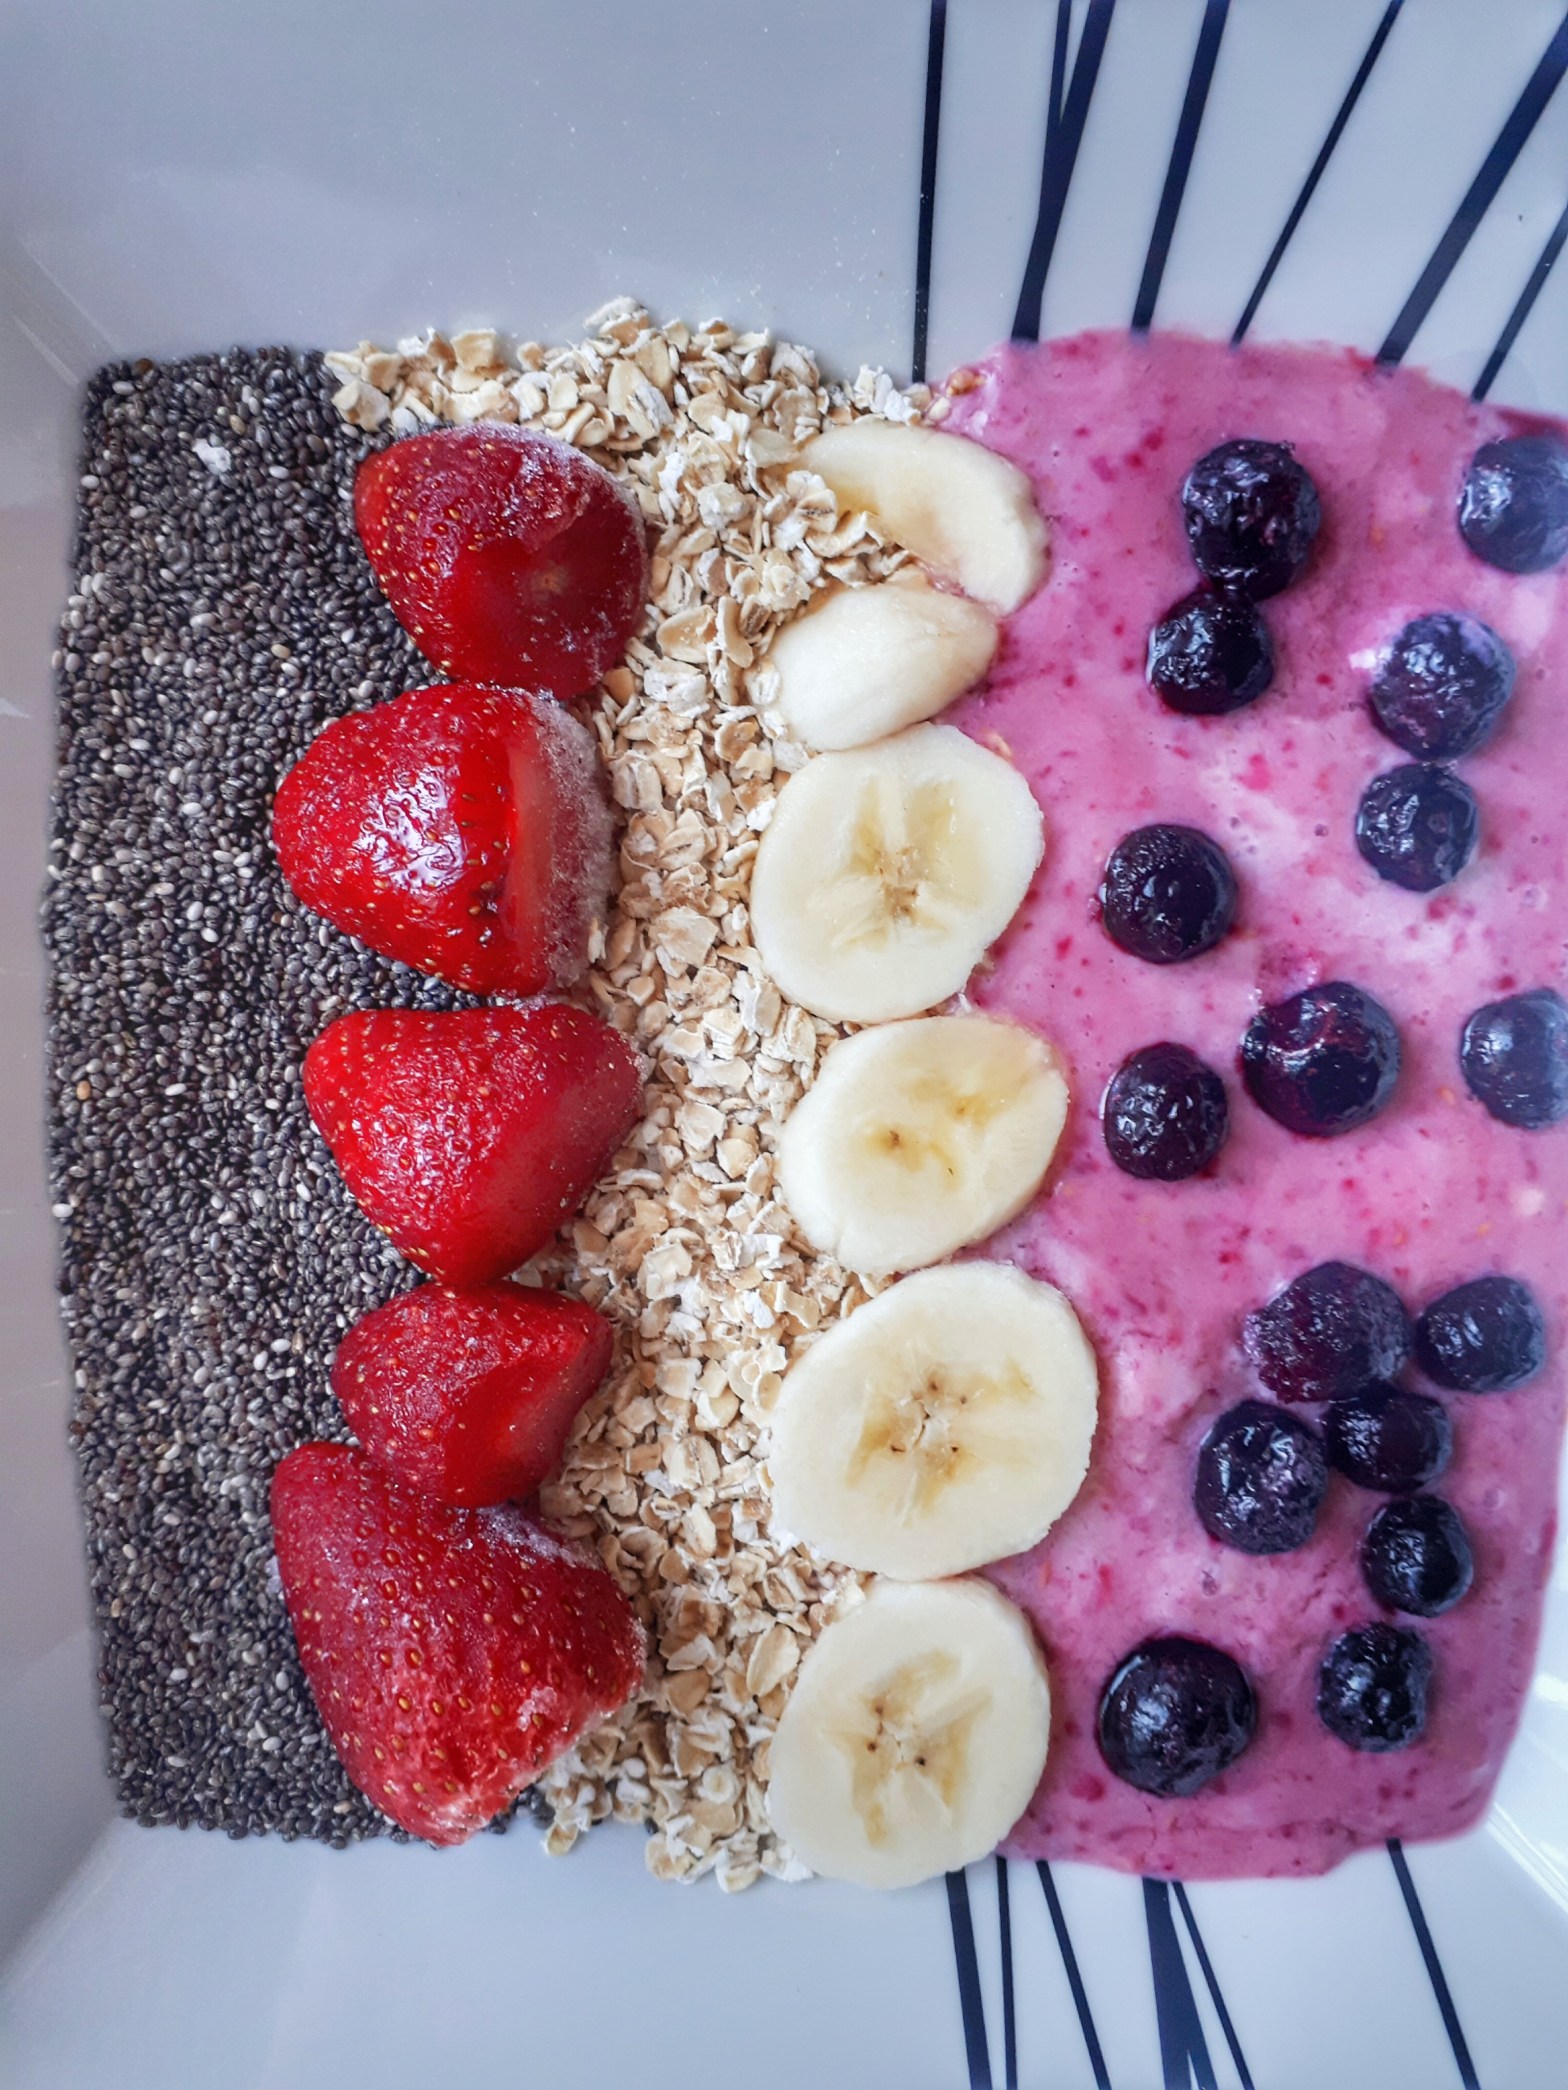
If you love berries as much as me then you will love this beautiful berry bowl.
Ready in: 10 minutes
Serves: 1
Kcal: 395
Berries + Bananas = Brilliant!
I love this berry bowl because it looks so colourful and is so full of fruit. I absolutely love eating berries because of they taste so good. In the Summer, I use my own berries that I grow to make this recipe. However, in the winter months, I have to buy them from the supermarket. I buy a lot of frozen fruit because it is more convenient for me, I can defrost as I want it then and don’t have to worry about it going off. I also find it better value for money, I’m all about healthy eating on a budget so try to cut costs where possible. Contrary to popular belief, frozen fruit is just as good for you as fresh, because it is frozen soon after picking, meaning it loses less of those vital nutrients that you need. But as always, the choice is completely up to you. If you prefer fresh, then use that. it’s all about personal preference.
Ingredients:-
1/2 Banana (or 1 mini banana)
50g Frozen Rasberries
300ml Soya Milk (or any alternative)
20g Oats
15g Chia Seeds
20g Strawberries
20g Blueberries
Preparation
Cut the 1/2 banana in half again, put the majority in a blender and leave some aside for the topping.
Blend the banana with the frozen raspberries and the soya milk to make a smoothie.
Add the smoothie mix into a bowl and layer with the oats and chia seeds.
Top with the strawberries, blueberries and the rest of the banana.
Serve and enjoy 🙂
The Heath Benefits
This breakfast contains a lot of fruit, and here are some of the health benefits. Blueberries and raspberries are great antioxidants, that protect us against oxidising agents, and strawberries are an excellent source of vitamin C. Bananas are also full of essential vitamins and minerals such as calcium, potassium and vitamin B6, all very important for the body to function normally. Oats are a great source of carbs and the chia seeds are a good source of omega 3 fatty acids (the good fat! ). All these ingredients together make this berry bowl the breakfast of champions! And it’s super easy to make. Why not give this recipe a try?
Don’t forget to tag me in your instagram pictures @growwelleatwell
Tip
If you don’t like the texture of the raw oats, why not add all of these ingredients together into a jar and try it as overnight oats?
So after making my own bread, the next thing on my plastic hit last was to try and make my own pasta.
I never really realised what a waste the plastic wrapping on the pasta I bought was. As soon as I get the packet pasta home, I’m pouring the bag straight into my glass kilner jars.
I figured that it can’t be that hard to make your own pasta so I gave it a go using the recipe linked below
My pasta dough rolled out and folded in half ready for cutting into strips.
Again, I used the dough blade on my ninja because I didn’t want to knead the dough. I swear I’m not usually this lazy but I hadn’t got much use out of my ninja for a while and wanted to see what the dough blade was like.
The pasta dough seemed okay, and I followed the instructions and let it rest for 30 minutes in the fridge. Then I cut it into four sections and tried to roll each one as thin as I could. My God it was hard work! I’m not lying, after rolling those sections I felt like I had just done a workout at the gym.
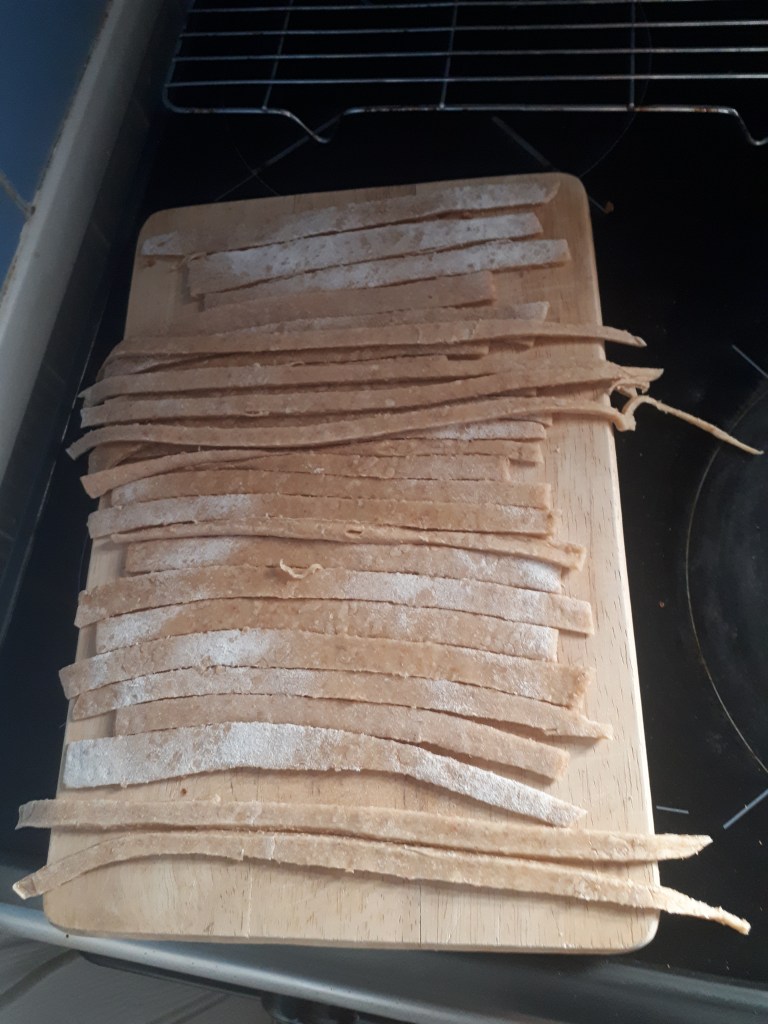
Cutting up the pasta…. it wasn’t great, but it was my first time!
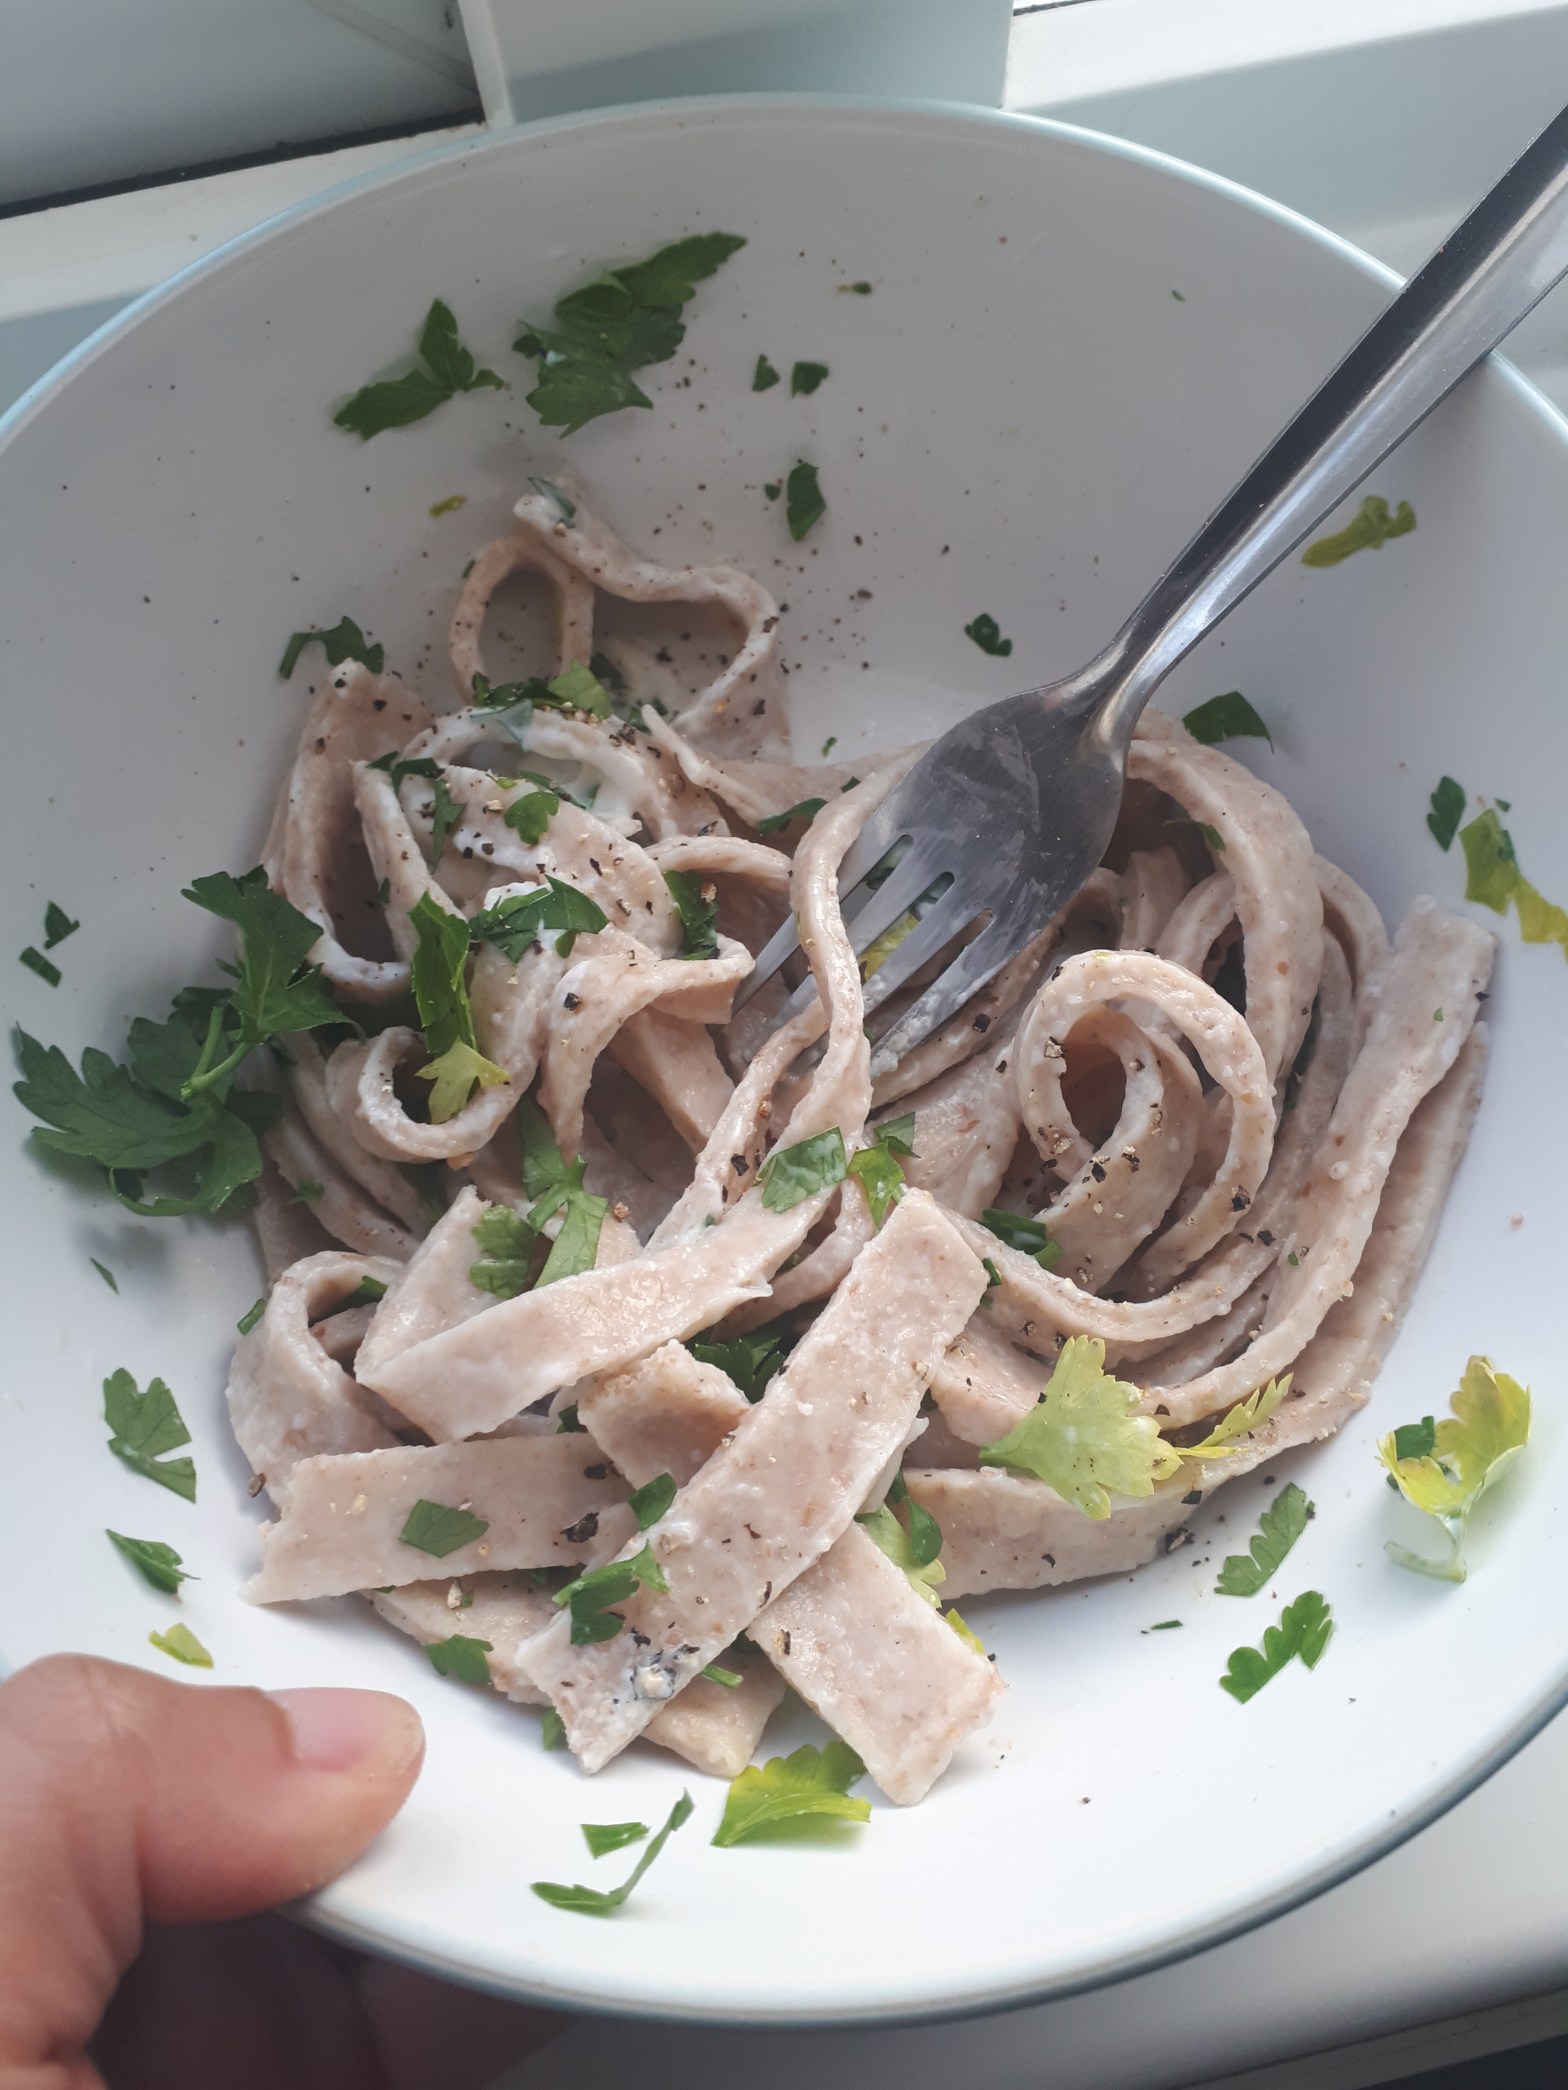
I got the pasta as thin as I could and then cut it to make tagliatelle strips. I made so much pasta I wasn’t sure what I was going to do with it. I ended up freezing half of it, keeping a batch in the fridge and then cooking some to see how it tasted.
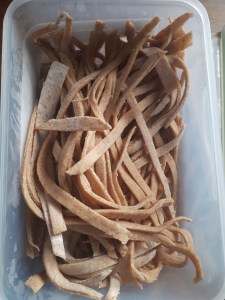
This was half of the pasta that got stored in the fridge
It did taste like pasta, but I don’t think I got the dough thin enough, so it was quite chunky. I ate it anyway, because I’m not one for wasting food, but I have since been looking for a pasta maker online. I’ve looked in a few charity shops and online on second hand sites to try and find one, so if I don’t stick to making my own pasta I haven’t wasted too much money, but I haven’t found one yet.
The pasta lasted for a couple of days in the fridge, but I made far too much and ended up putting a load onto the compost heap when it started to look a bit funny. I still have some in the freezer though.
I would definitely try to make my own pasta again, it took so little time, and I really think its an easy way for me to use less plastic. I do think that next time I would half the ingredients so there is less waste, and mix by hand this time instead of using the Ninja.
We all want Fish and Chips on a Friday, and while as the occasional great it is fine, it’s not something we should be eating every week… Enter the healthy fish and chips alternative! Made from rainbow trout, sweet potatoes and frozen peas, this could be the new Fish Friday treat for you.
Ready in: 40min
Serves: 4
The New Fish Friday
I was inspired to make this healthy fish and chips after driving past the newly renovated chip shop near me. The smell coming from that shop was amazing and I could feel it calling to me, but I did not want to give into temptation when I knew I had fish at home. So I decided to make my own breaded fish and pair it with some sweet potato fries, and I have to say it tasted so good that I forgot all about the chippy. I used frozen rainbow trout that I defrosted overnight in the fridge, but you could use whichever fish that you would prefer, this is just my personal preference. I also used smoked paprika as my seasoning of choice, but as always, you go with what feels right for you.
Ingredients:-
4 Rainbow Trout fillets
2 Slices wholemeal bread
1-2 tbs Smoked Paprika – adjust to your taste
1 Egg – beaten
Frylight Spray Oil
500g Sweet potato – peeled and cut into chip shapes
400g Frozen Peas
Handful mint leaves – roughly chopped
10g low fat spread (optional)
Salt/pepper to taste
Preparation:
If using frozen fish, defrost overnight/ in a microwave before starting.
Chips:
Preheat the oven to 200 degrees.
Peel and cut the sweet potatoes into chip shapes and put in a bowl.
Spray the chips with 5-10 pumps of frylight spray oil, making sure all the chips are coated.
Add in 2 tbs of chilli flakes (or alternative seasoning), making sure all the chips are coated.
Spread the chips on an ovenproof dish and cook for 25-30min (or until cooked)
Fish:
In a blender, add the 2 slices of wholemeal bread and the smoked paprika.
Blend until it resembles bread crumbs.
Use the beaten egg to egg wash the fish fillets .
Cover the fish in the bread crumbs, and place on a oven-proof dish.
Cook the fish in the oven for 20min
Mushy peas:
Boil the frozen peas until cooked (usually 3-4min)
Once cooked, drain the water off, and add chopped mint and low fat spread (if using)
Mash the peas until they are mushy.
Serve the chips, fish and peas, season with salt/pepper, and enjoy 🙂
The Health Benefits
Fish is a lean protein source, which is important for maintaining our muscles. Rainbow trout contains omega-3, which is an essential fatty acid that helps maintain healthy joints and brain function. Sweet potatoes provide a good source of dietary fibre, which makes us feel fuller for longer. It also contains vitamin K which helps with blood clotting, phosphorous/calcium that are essential for healthy bones, and iron which is important for the transport of oxygen around the body. Peas are a great source of zinc, which acts as an antioxidant, and the vitamin thiamin (B1), which is required in the process to release energy from the food we eat. So with all these health benefits, why not make this your new fish Friday meal?
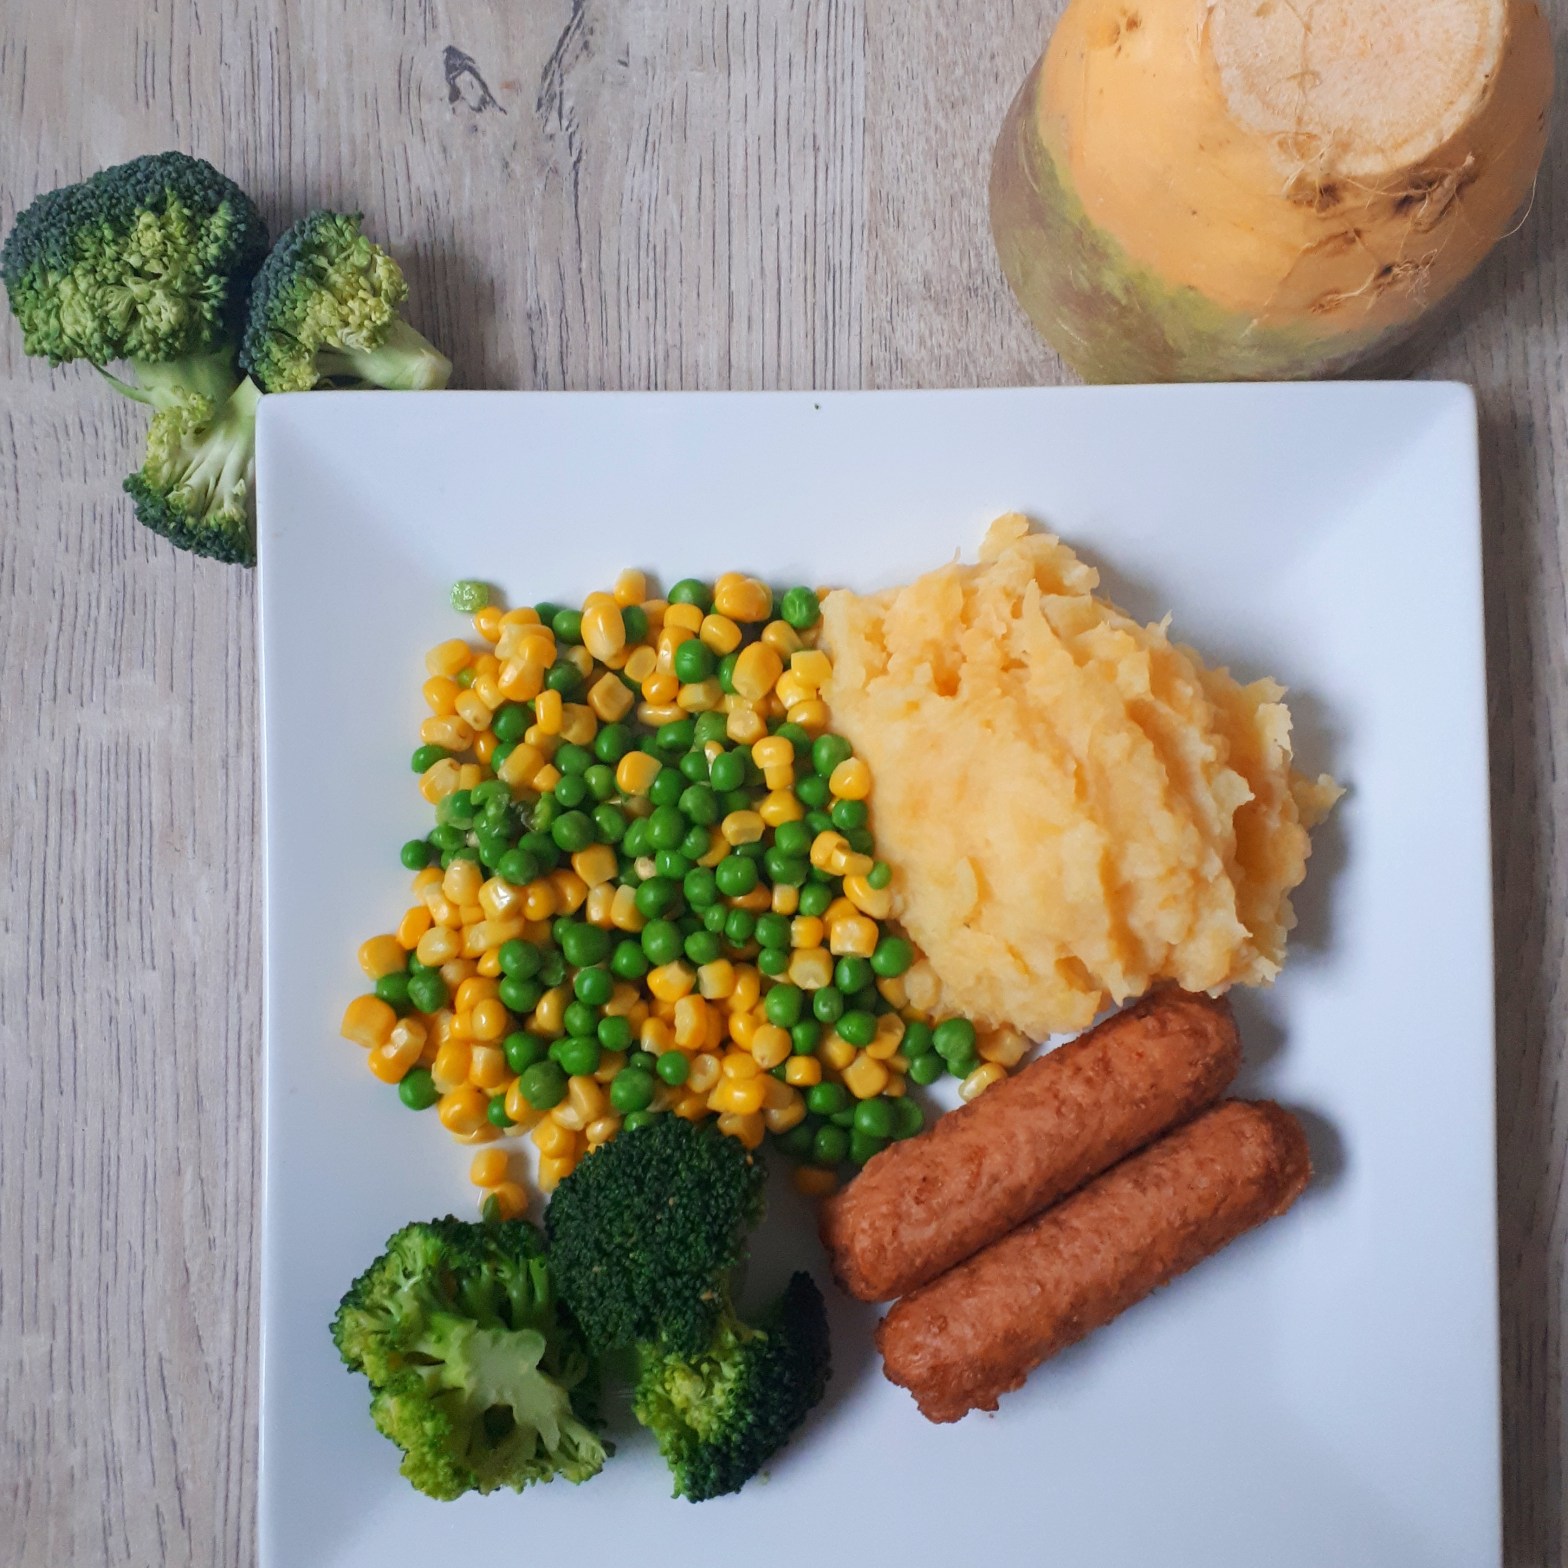
I decided to try and put a different spin on this classic by using Linda McCartney vegetarian chorizo and red pepper sausages, instead of pork ones. This was my first time trying these sausages and they were absolutely beautiful, I would highly recommend these to everyone. I chose veggie sausages because I like to have a few meat free meals a week (#meatfreemonday), and regular pork sausages can be really high in saturated fat. I made the mash from swede and potato to give it more flavour, and to add in those all important vegetables. I like to incorporate vegetables however I can to make sure I am getting my 5 a day. Unfortunately, when I made this I didn’t realise I had run out of gravy so I had to eat it dry, it still tasted good though. This is super easy and also very healthy so why not give it a go?
Ingredients:-
4 Linda McCartney Vegetarian Chorizo and Red Pepper Sausages
1 baking Potato
1/2 Swede
150g Peas
150g Sweetcorn
1/2 head of Broccoli
50ml Milk (or butter if you prefer)
Onion Gravy
Seasoning (Optional)
Preparation:
Peel the potato and swede, cut into chucks and boil in hot water for 20min (or until cooked through)
Place the sausages under a preheated grill on a moderate heat for 10-12min.
5 minutes before the sausages and potato are cooked, boil the peas, sweetcorn and broccoli in hot water for 3-4min (or until cooked)
Make the gravy as per the pack instructions.
Once the potato and swede are cooked, add the milk (or butter) then mash mash mash!
Serve and Enjoy 🙂
The Health Benefits
The Linda McCartney sausages are a good source of protein, which is an essential macronutrient for all our cells. Per 2 sausages they also contain 5g of fibre, which helps us feel fuller for longer by slowing down our digestion. Potatoes are a good source of starchy carbohydrate, which provides us with much needed energy. Potatoes are also virtually fat and sodium free, which is also a bonus for those watching their weight. Swede is a great of calcium and phosphorous, both of which are needed for healthy teeth and bones. It is also a good source of vitamin K, which aids in blood clotting. The peas and sweetcorn are high in the B-complex vitamins, which have a range of activities such as the metabolism of macronutrients for DNA and the manufacture of proteins. To see more about these vitamins please see my blog post: What are Vitamins?
Don’t forget to tag me in your instagram pictures @growwelleatwell
Tip
Why not try this adding extra vegetables such as cauliflower? Or you could try seasoning the mash? I like to use a bit of Paprika for added taste.
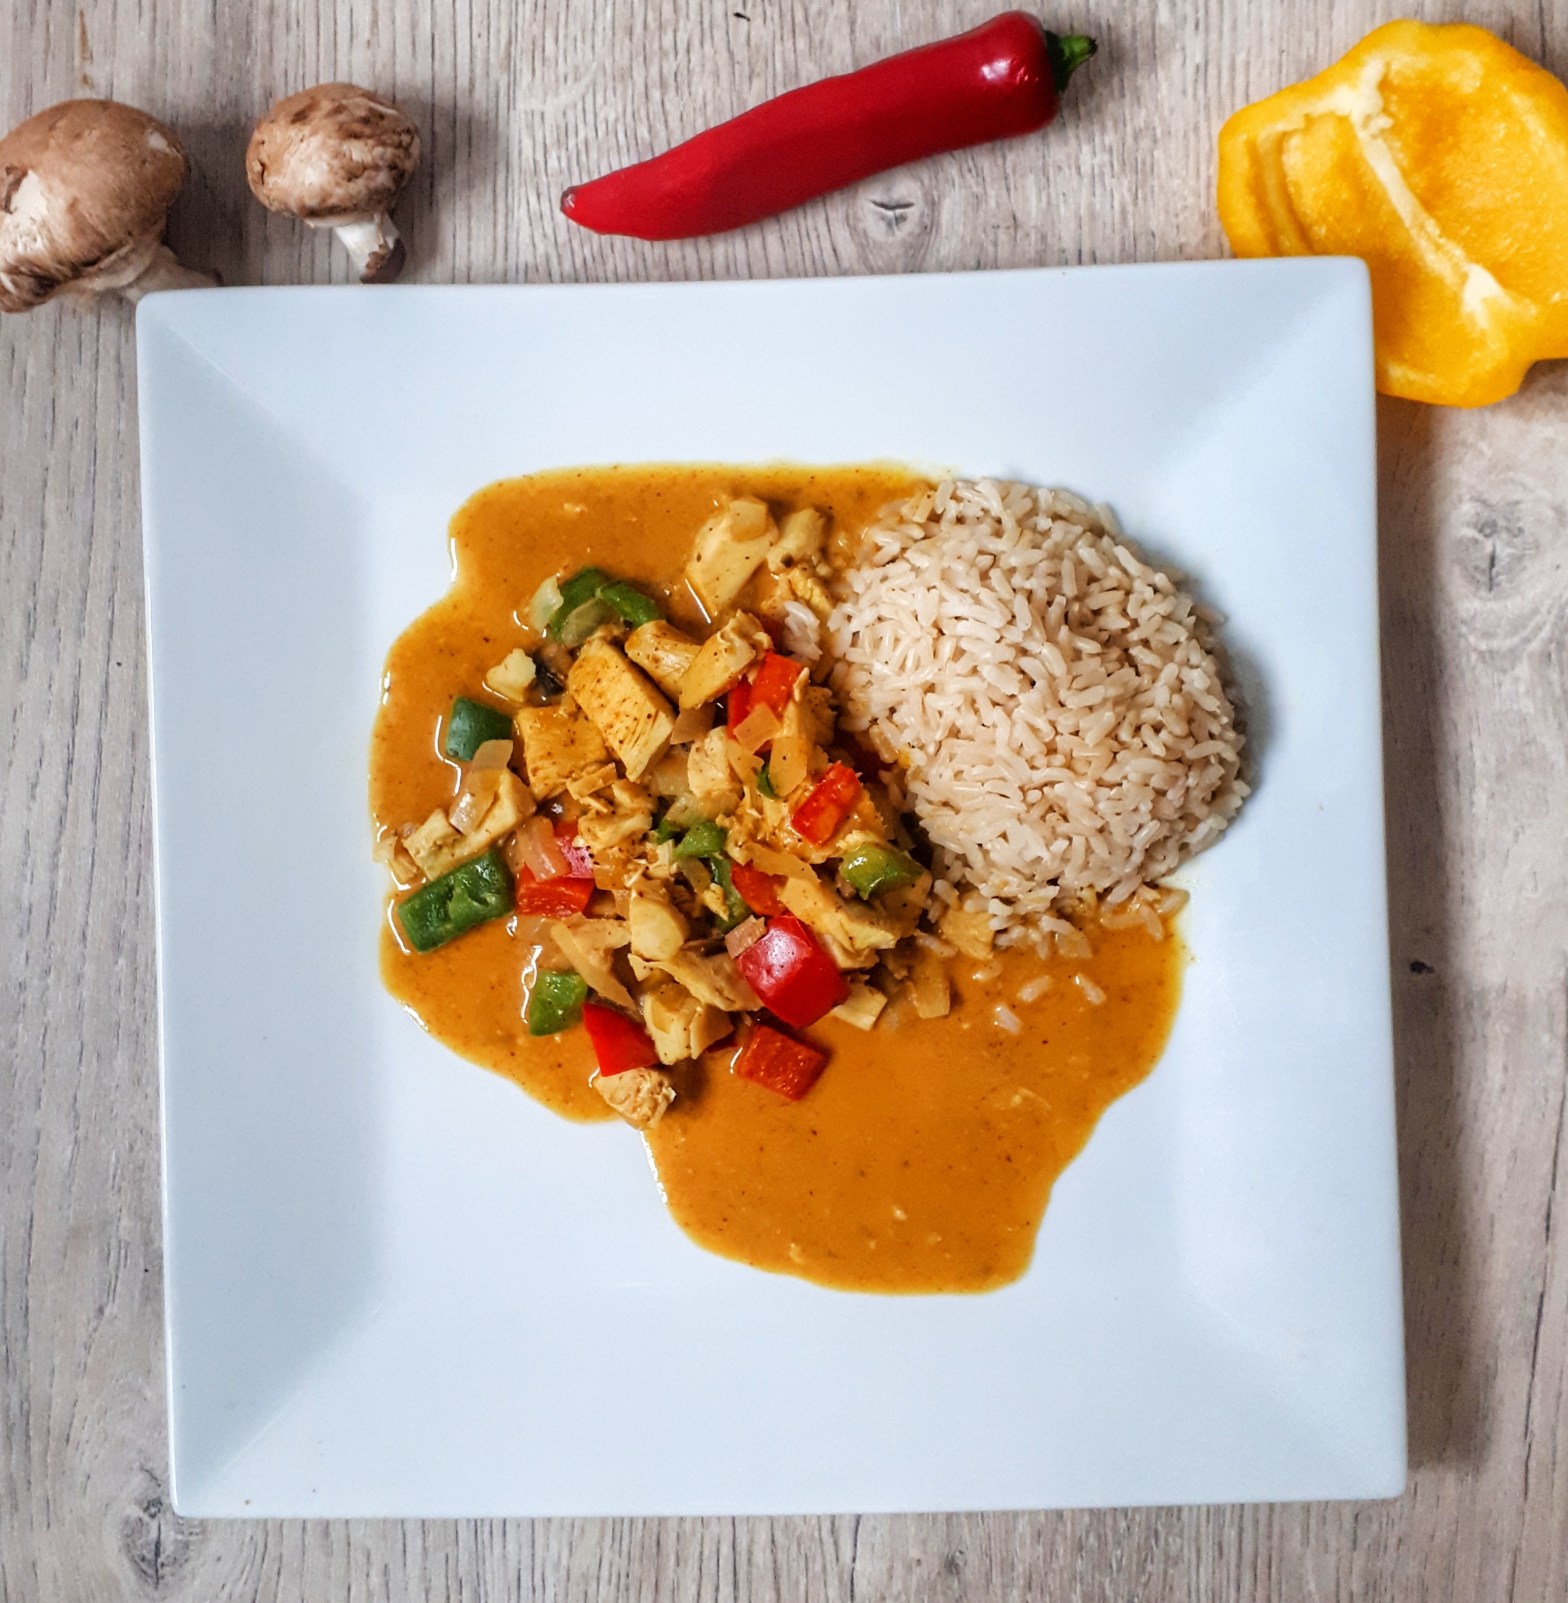
I absolutely love satay, I always order it if I have Chinese but oh my god the calories 🙈So here is my healthier version that contains around 600 kcal, which is about the calories I aim for in my main evening meal 😊
Ingredients:-
4 chicken breasts
1 onion
2 peppers
60g mushrooms
300g rice
Sauce:-
60g peanut butter
1 can reduced fat coconut milk
20g xylitol (or alternative sweetener)
10ml soy sauce
1tbs tumeric
1tbs curry powder (choose whichever heat you want)
Method:
Cook the rice as per the packet instructions (I use a rice cooker)
Fry the chicken until cooked, then add the onion, peppers and mushrooms and fry until tender.
In a pan, add the coconut milk, and the rest of the ingredients to make the sauce. Mix and simmer on a medium heat until hot.
Add the chicken and veg into the sauce and stir.
Serve the sauce with the rice.
Enjoy 🙂
The Health Benefits
Peanut butter is a great source of protein, and contains a lot of vitamin E, which is a powerful antioxidant. It also contains a lot of monounsaturated fats (the good fats!). Coconut milk is a great source of iron, magnesium and zinc, but I use the reduced fat option because it is lower in calories. The choice is completely up to you, just remember to take into consideration how much calories you are aiming to consume in a day. Chicken is a great source of protein, and B-vitamins which have a range of important roles in the body such as the manufacture of DNA and proteins, metabolism of fats, carbs and proteins, and help protect against infection. Brown rice is a great source of carbohydrate, and contains a lot of dietary fibre, which keeps the digestive system moving and healthy.
Don’t forget to tag me in your instagram pictures @growwelleatwell
Why not try substituting the chicken with tofu to make this recipe vegetarian? It makes a great alternative to meat.